PART ONE: Laying The Foundation
In this article on preparing cannabis infusions, we’ll:
- learn a thing or two about decarboxylation (decarbing)
- talk a bit about different kinds of cannabis
- discuss simple ways to improve the bioavailability of your cannabis infusion oils
- consider our choice of carrier oils
Cannabis flower buds are unsurpassed in their concentration of essential oils, rich in cannabinoids. Smoking a joint, the most common consumption method, you’ll feel effects within moments of taking the hit, and watch the majority of your valuable cannabinoids float away in the smoke curling upwards from the burning tip.
To access most other pathways into the body it’s necessary to formulate a cannabis infusion oil from your buds and leaves. After years of experimenting, I’ve developed a preference for infusions and have preferred methods of creating an infused cannabis oil in my home using minimal equipment. I offer you a quick guide to safe and easy cannabis infusions you can produce in your own kitchen that bring out the true benefits of buds, from a mellowing indica to an uplifting sativa.
But first…
Common Steps for Cannabis Infusions
All cannabis infusions will follow common steps:
- Decarb, if necessary.
- Choose a carrier oil.
- Combine ground buds, carrier oil, sunflower liquid lecithin.
- Infuse.
- Strain.
- Store.
IMPORTANT: Cooked oils will go rancid if left out too long. Store in your refrigerator. I find it easier to make more frequent smaller batches of cannabis infusions than to store larger batches long term. Use within three months.
Let’s take a closer look at those steps.
Step One: Decarboxylation – Unlocking Cannabinoids

In a nutshell, cannabis plants produce acid cannabinoids. (THCA, CBDA, CBGA, etc.)
Acid cannabinoids have carboxylic acid groups, which are collections of carbon and oxygen atoms. I’ll be calling them carboxyl groups.
Decarb releases the carboxyl groups, transforming the molecules into neutral cannabinoids (THC, CBD, CBG, etc.), and unlocking more cellular signaling potential. Significantly, non-intoxicating THCA transforms into psychoactive THC.
THCA (with carboxyl groups) + controlled HEAT = THC (without carboxyl groups)
Stored cannabis naturally decarbs over time. By using controlled heat we accelerate the process. I follow a tried-and-true formula of 110° C (230° F) for 110 minutes. I also remind myself every time that the body will use all cannabinoids, not just neutrals like THC or CBD.
Since acid and neutral cannabinoids create different effects, most weed recipes ask you to decarb first.
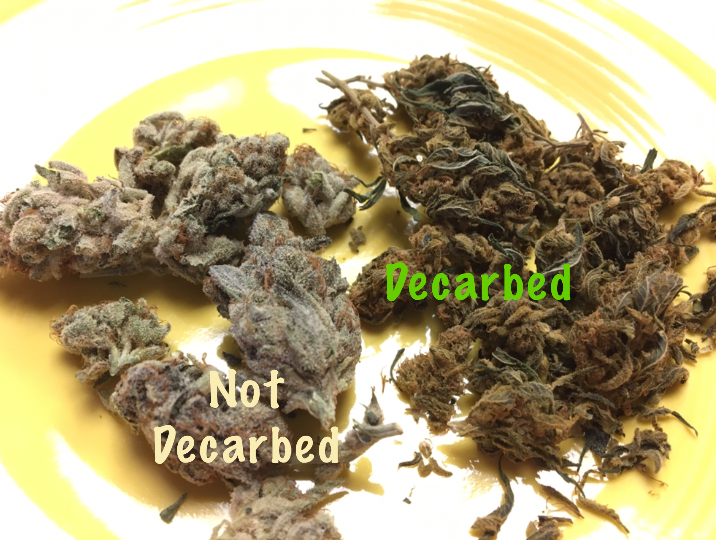
Simple Decarb
It’s not necessary to break up buds before decarbing. Quite frankly, they’re easier to crumble after decarb- especially some of the denser buds you’ll see from Terraform Genetics or Humboldt County Indoor.
Have an oven?
- Place your buds on a baking pan, covered with foil.
- Bake at 230° F (110° C) for 110 minutes.
- Cool completely before opening.
Be aware that oven decarb smells while the buds are cooking.
Have an Instant Pot pressure cooker?
- Place your buds in a sturdy container, loosely covered. Canning jars work well.
- Cook on high pressure for 110 minutes. Remember to turn off “Keep Warm.”
- Unplug and leave to cool a few hours for a more complete decarb.
NOTE: Instant Pot decarb emits no smell until you open the jar.
Step Two: Choosing Your Cannabis
Most cannabis products you’ll find in the dispensary will be grouped as either indicas or sativas.
Indicas are known to influence deep relaxation, usually associated with a body high. Infused oils intended to help balance sleep patterns are made with indica plant material.
Sativas are typically uplifting and influence a cerebral buzz, what we call a head high. Daytime oils will tend to be sativas, unless the consumer is sensitive to sativa terpenes.
NOTE: Every individual will respond differently to cannabis products. It often takes some experimenting to learn if your body has a preference. Allow yourself to explore the possibilities assured that cannabis is as safe a product as you can find.
Start with small doses and give yourself at least two hours before taking more until you learn your body’s tolerances. Make your dose increases as small as you can. Your endocannabinoid system appreciates the feather’s touch over the sledgehammer approach to dosing.
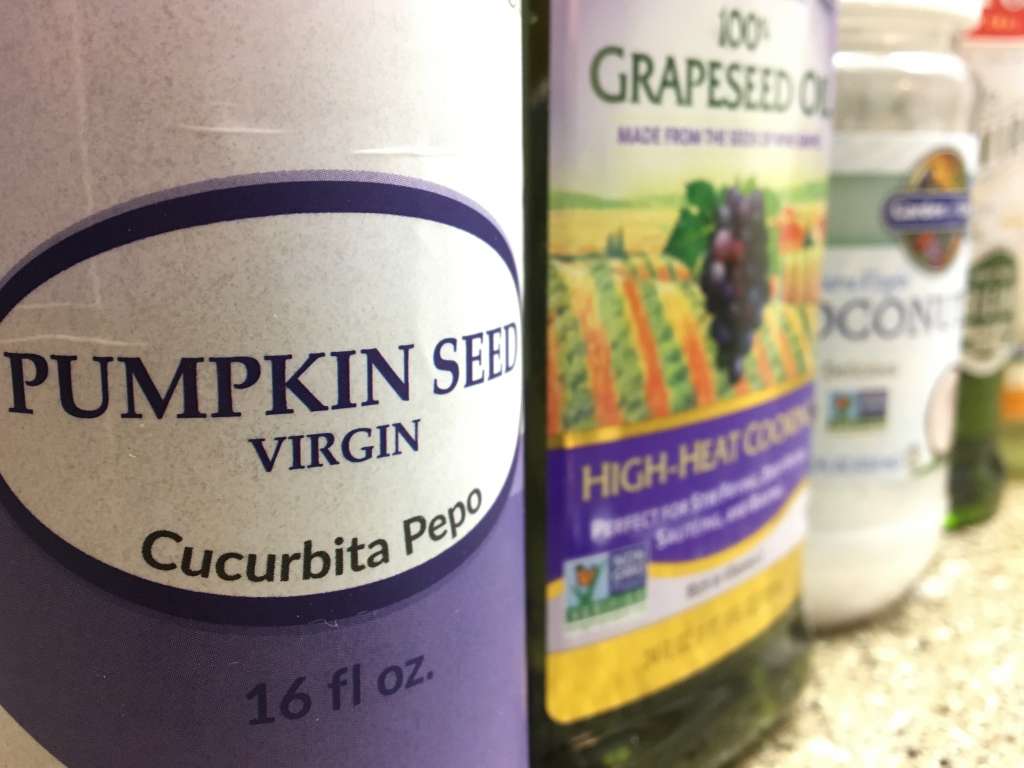
Step 3: Choosing Your Carrier Oil
Cannabinoids on their own don’t absorb efficiently through the gut. Holding hands with carrier oils increases absorption into the bloodstream, (home to your Central Nervous System), or the lymphatic system, (home to your Immune System).
When infusing for cooking the intended dish determines the choice of carrier oil, but for recreation or medicine my choice is determined by which system I’m most interested in accessing.
- Getting high? I choose coconut oil. Its shorter carbon chain makes it a fast-track to the liver, where delta-9 THC will undergo a transformation to 11- Hydroxy THC. You’ll get high faster and stay high longer.
- Treating disease? I usually choose olive oil for cannabis infusions. Its longer carbon chain gets cannabinoids absorbed right into the lymphatic system where they’re needed, buying time before the molecules eventually circulate into the bloodstream.
- Making a topical? I personally prefer a 50/50 mix of grape seed and pumpkin seed oils, but any oil known to easily absorb into the skin will work.
Sunflower Liquid Lecithin – A Canna Cook’s Secret Weapon
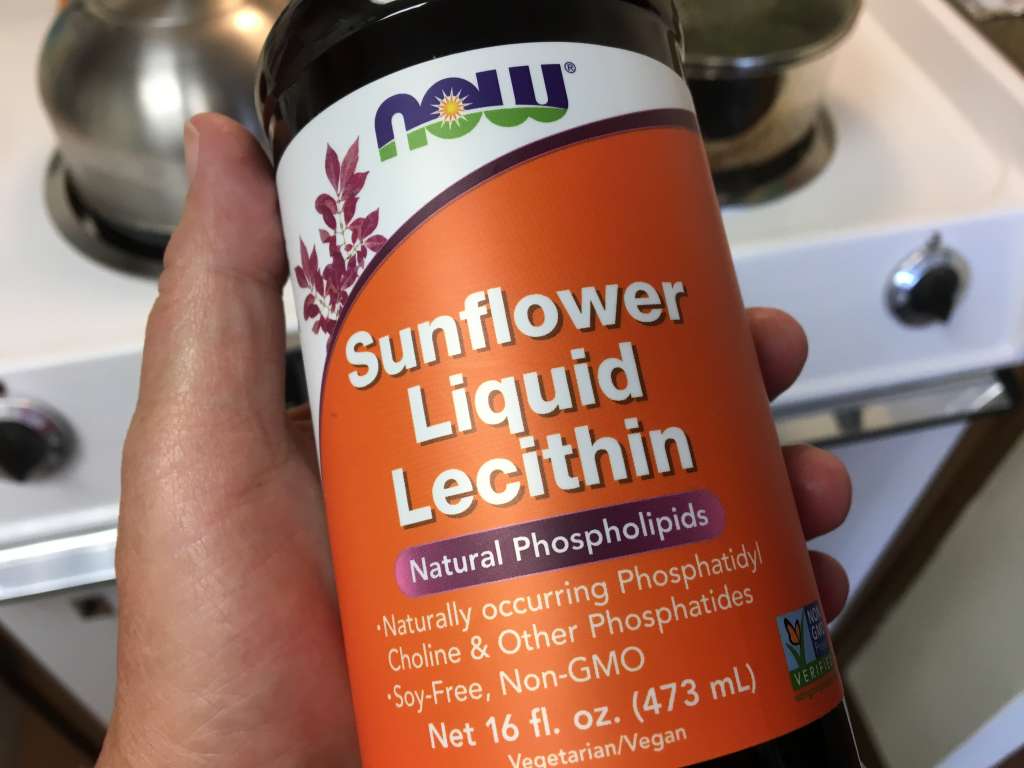
Lecithin increases cannabinoid bioavailability:
- Dispersing molecules evenly through the cannabis infusion.
- Speeding absorption in the gut.
- Extending the length of effects.
I use lecithin in every batch of canna oil at a rate of 1 tablespoon of lecithin for every cup of carrier oil, added at the end of infusion, after the oil is strained, and before sitting overnight in the fridge.
This small but important detail will increase your available THC content by a significant amount.
NOTE: Letting the finished oil rest overnight in the fridge before use allows the lecithin to more finely disperse the molecules.
Step Four: A Little Wrapping Up
Unless you have a home testing device like tCheck you’ll be estimating the potency of your cannabis infusion. Your volumes of plant material and carrier oil will be determined by the desired potency. This helpful calculator will make that guesstimate easier for you.
Your dispensary purchases will have labels that tell you how much THC or CBD is in your product. That makes it easier to determine potency. As a general guideline when you lack testing information, most high-THC cannabis flowers are considered to have between 100 – 150 mg of THC per gram of flower.
For peace of mind, I choose either Pyrex or stainless as infusion containers.
Flowers have dense concentrations of the highest quality of essential oils, but every inch of the plant is potential material for oil making. When using trim in place of flower buds I double the weight of the plant material.
Grind plant material to expose surface area, but not so fine that it easily passes through your filter when straining.
That’s enough foundation to put you on firm footing as we move on to Part Two, where we’ll cover five simple cannabis infusions you can safely execute at home.
Feel free to share your own canna kitchen tricks for simplifying cannabis infusions or leave questions in the comments below.